
Camper FAQs is reader-supported. Buying through links on our site may earn us an affiliate commission. As an Amazon Associate I earn from qualifying purchases.
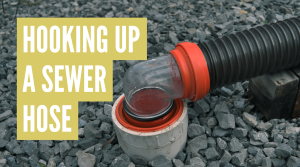
Leaving your sewer hose connected in freezing temps can lead to the plastic cracking.
But, by taking a few simple precautions, you can greatly reduce the chances of this happening to you.
So, let’s take a look at our 3 step process to keep your RV sewer hose from freezing and cracking this winter.
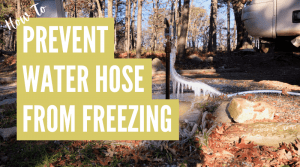
Step 1: Install An Insulated RV Sideskirt
We first want to protect the underside of your RV from cold air and wind. This will essentially help protect any hoses or pipes, tanks, valves, and other RV components from freezing over.
You can buy premade RV skirts, or if you’re feeling crafty, you can make your own. If you make your own, keep in mind that some campgrounds may have regulations that your skirts must meet.
If you want to make your own RV skirting, check out this video.

If you want a premade RV skirt that meets all campground regulations, then check out the RV Windskirt.

RV WindSkirt 48 inches by 120 inches Silver Skirt Panel
Price:Clicking this link to make a purchase may earn us a commission at no additional cost to you.
Caution: Space heaters are a great way to keep the inside of your RV warm in freezing temps. But, we do NOT recommend leaving a space heater running unattended underneath your camper to keep RV pipes from freezing while camping.
Step 2: RV Holding Tank Anti-Freeze
Once we’ve insulated the underside of the RV, we want to further reduce the chances of our holding tanks and sewer hose freezing by adding a special kind of anti-freeze to your holding tanks.
This non-toxic anti-freeze can help protect your tanks and hoses from freezing in temps down to 50 below. And it’s as simple as dumping the recommended amount down your RV toilet, shower, and sink drain.
Be sure to use the recommended amount and continually use the anti-freeze, so it doesn’t dilute past its point of effectiveness.

Splash RV And Marine Antifreeze
Price:Clicking this link to make a purchase may earn us a commission at no additional cost to you.
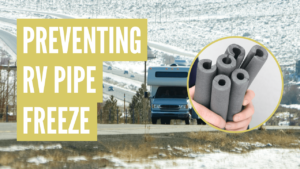
Step 3: Wrap Sewer Hose In Heated Coil
Lastly, it’s time to attack the problem directly. You can either disconnect the hose and store it somewhere warm in between dumpings or leave it attached and heat and insulate the sewer hose itself. If you’re staying somewhere long-term, you can save time and the hassle of constantly pulling out your hose and putting it away by simply heating and insulating it.
So, let’s get started!
Materials Needed:
Heating & Wrapping Instructions
- Wrap the sewer hose with the heated cable, making sure the cable is tight up against the hose. You can keep the cable in place by securing it with electrical tape roughly every foot. Be sure the thermostat on the cable is in a place that will get cold enough to turn the heated cable on.
- Wrap the sewer hose with the pipe wrap insulation. Be sure to cover the hose completely with the insulation.
- Finally, completely cover the insulation with waterproof tape.
Here’s a video breakdown of how to wrap your sewer hose.

And that does it! Remember, even the best RV sewer hose is susceptible to freezing if it gets cold enough. But following the three steps outlined above is one of the best ways to ensure your sewer hose never freezes again in even the coldest climates!


If you leave your tanks closed and only open them when dumping, shouldn’t your hose be fine? It wouldnt be full of water that would freeze.
You should always leave your black tank valve closed and only open it while dumping. That is correct. But it’s not water freezing in the hose and expanding that damages it. It’s the freezing temperatures that make the plastic hose brittle and more prone to cracking.
Great info! Is the antifreeze safe for septic tanks? We’re full-time RVing for our first winter and hooked up to our septic on new property.
Thanks Lanessa! Yes, as long as you use RV antifreeze it will be safe to dump in a septic system.