Camper FAQs is reader-supported. Buying through links on our site may earn us an affiliate commission. As an Amazon Associate I earn from qualifying purchases.
There are a few simple tasks that, when done regularly, can help RV owners prevent annoying problems and save time and money down the road.
Here are ten things that I often see get overlooked but can make a big difference in how smoothly your trips go.
1. Turn Off the Water Supply When Leaving the RV
Leaks happen. And when they do, pressurized water can quickly flood cabinets, floors, and insulation. Even a small drip from a fitting or hose can cause damage if left running for hours. Before stepping away from your RV, shut off the city water at the pedestal or turn off your water pump. This habit can help prevent serious water damage inside the rig when you’re away from camp.
2. Check Lug Nut Torque and Tire Pressure Before Every Trip
Tire issues are one of the most common causes of roadside RV problems. Tires that are underinflated or past their service life are more likely to blow out, and loose lug nuts can lead to wheel separation. A simple check with a torque wrench and a reliable tire gauge before hitting the road can help prevent damage to the RV and protect those on the road around you.
3. Seal Entry Points Under and Around the RV
Openings around pipes, wires, and frames often go unnoticed, especially under the RV. Rodents, particularly mice, can squeeze into very small gaps and cause problems by chewing wires or nesting in insulation.
Using spray foam or caulk to fill these gaps will reduce the chance of animals getting inside. Areas around the fridge, water heater, battery cables, and slide mechanisms are common access points worth checking. And don’t forget to periodically check the seals and reapply foam or call as needed.
I recommend doing this immediately after taking ownership of your RV! Here are a few more proven methods to keep mice out of your camper.
And don’t forget your vents! Metal mesh screens made specifically for vents are available in different sizes and help block entry without restricting airflow. They’re especially helpful for RVers who camp in wooded or rural areas to keep insects and bugs out.
4. Replace CH751 Storage Locks
Most RVs come with storage compartments that use a common key code, CH751. These keys are widely distributed and can be used by anyone who has one. Replacing them with more secure cam locks helps limit access to your stored items, especially when parked in public or shared storage lots. I personally use the RVLock Keyless Entry.
5. Clean Power Terminals
Shore power plugs, trailer connectors, and battery terminals are exposed to the elements and can develop corrosion or oxidation over time. When that happens, electrical resistance increases, and problems like overheating or intermittent power loss can occur. Using an electronics-safe contact cleaner once or twice a year helps maintain strong electrical connections. Some people also apply dielectric grease afterward to protect the terminals.
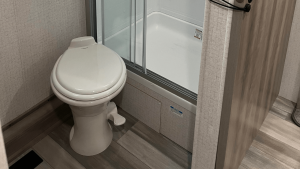
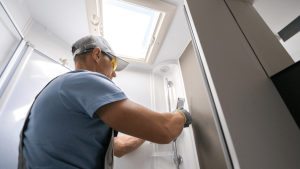
6. Maintain and Lubricate All Seals
Rubber seals on RV doors, windows, and slide-outs need occasional care to stay soft and effective. Without maintenance, they can dry out, crack, and allow water or air to leak in. Slide-outs, in particular, have both sweep and bulb seals that compress when extended or retracted. Using a UV-protective rubber conditioner like 303 Aerospace Protectant helps extend their life. Applying it a couple of times a year is usually enough.
And don’t forget the seal in your toilet needs lubricating, as well.
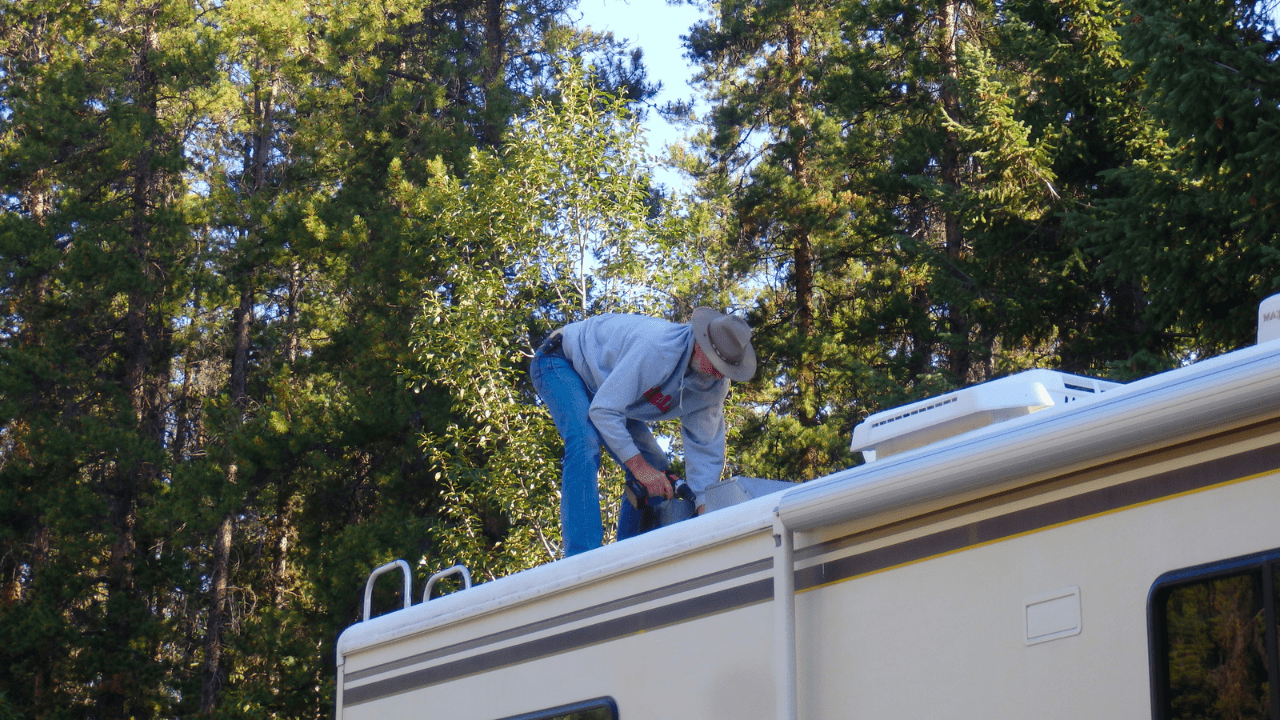
7. Clean Your RV’s Air Conditioner Coils
Your RV’s air conditioner has two sets of coils: the condenser coils on the back and the evaporator coils at the front. Both can collect dust, grime, and debris over time, which reduces cooling efficiency and increases wear on the system. Cleaning them once or twice a year helps keep your AC running properly, especially during the hotter months.
Start by shutting off all power to the AC unit. Once on the roof, remove the outer shroud to access the condenser coils. Use a soft-bristle brush to loosen dirt before applying a foaming coil cleaner. Avoid using a hose, as spraying water near open electrical components or vent openings can cause damage inside the RV. Instead, use a spray bottle of water to rinse off the foam once it has broken down the grime.
Next, remove the inner cover to access the evaporator coils. Use a no-rinse coil cleaner like Nu-Calgon’s Evap Foam to treat this side. Again, gently clean with a soft brush before applying the cleaner. Once the foam dissipates, reassemble the covers.
While you’re at it, inspect your return air filters. If they’re stretched or worn, replace them. Foam filter material is inexpensive and can be trimmed to size. Avoid using thick or doubled-up filters, which can restrict airflow and strain the system. If indoor air quality is a concern, use a separate filtration unit rather than relying on the RV’s AC to handle that job.
8. Check Where Sinks and Showers Drain
It may seem odd, but not all RVs route sinks and showers into the gray tank. In some designs, certain fixtures may drain into the black tank, which can cause an unexpected overflow. To test your setup, empty both tanks, close all valves, and run water in one fixture at a time with the black valve open. If water shows up in your clear elbow, you’ll know that fixture drains into the black tank.
9. Download and Save the Most Recent Owner’s Manual
Some RV manufacturers update their owner’s manuals after the original printing. These updates may include new procedures, corrections, or expanded information. Since many manuals are now provided as PDFs, it’s a good idea to visit the manufacturer’s website once in a while to check for a newer version. Save the file directly to your phone or tablet so you can access it without needing internet service at a remote campsite.
10. Turn Off the Main Breaker Before Plugging In or Unplugging Shore Power
Power surges can damage appliances or onboard electronics. Turning off the RV’s main breaker before plugging in or disconnecting from a pedestal is a simple step that helps protect your system. After plugging in, turn the breaker back on. This habit is often overlooked, but easy to include in your arrival and departure routines.
What did I miss? Let me know in the comments below!

Great idea. Just updated from truck camper to a trailer camper
Thanks all good maintenance tips.. as a new used Motorhome owner
Clean your solar panels to obtain maximum efficiency