RV dump stations are a necessity for many RVers.
Unfortunately, poor dumping practices and a lack of consideration can be extremely inconvenient and dangerous for fellow RVers.
This lack of etiquette can have far-reaching effects that can impact the entire RV community, even causing some dump stations to close down.
Below we cover ten RV dump station etiquette rules to ensure a safe and clean experience for everyone and help preserve these essential resources for future RV travelers.
Proper RV Dump Station Etiquette
Tip: Check out our RV dump stations list to find a dump site near you. You can even download our RV dump station directory to access it in areas without WIFI!
1. Inspect Dump Valves and Connections
Before you arrive at the RV dump station, inspect your RV’s dump valves and connections for any leaks or damage. Any leaks can be hazardous and contaminate the environment. If you notice any leaks, have them repaired before attempting to use the dump station.
2. Don’t Block Other Stations
If the dump station has multiple stations, avoid blocking access to the others. This is similar to when you’re trying to find a parking spot, and somebody is taking up two spots. Yeah, it’s that annoying.
3. Spray Water Spigots With Bleach Solution
Before and after using the water spigot at the dump station, spray it with a bleach solution to prevent the spread of germs and bacteria. This helps ensure a cleaner and safer environment for everyone. Carry a spray bottle with a bleach solution in your RV for this purpose.
4. Use the Right Equipment
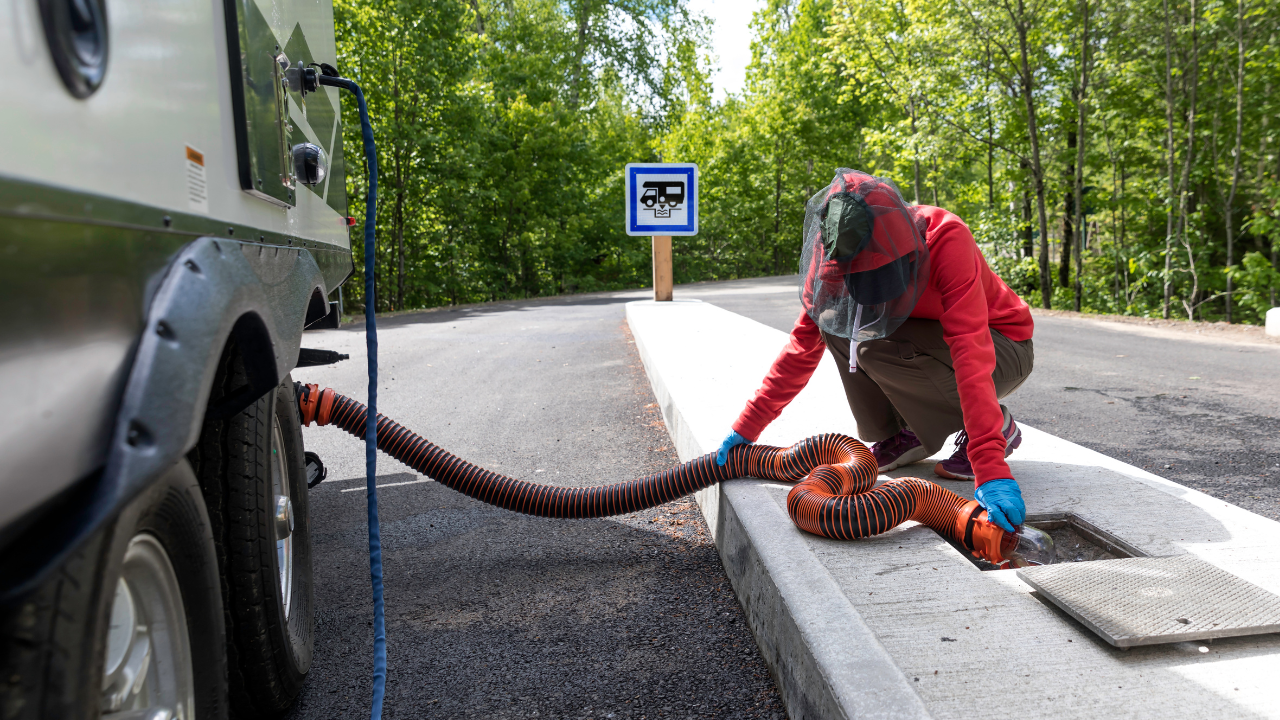
Using the right equipment is critical to avoiding spills and contamination. Make sure you have the appropriate gloves and cleaning supplies, and a high-quality sewer hose kit with a clear elbow adapter is a must-have. Check out my recommended sewer hose kits and see which one I use personally.
Related: How to Hook up an RV Sewer Hose and Use It (5 Simple Steps)
5. Move Quickly
While it’s important to be thorough, move quickly to avoid holding up the line. Being efficient and prepared beforehand can help make the process faster and smoother. Check out our step-by-step guide on how to use an RV dump station to ensure you’re ready to go.
6. Dump Your Tanks in the Right Order
Dump the black tank first, and once that is empty (which you can easily tell when it’s empty if you have a sewer hose kit with a clear elbow adapter), you’ll want to empty the grey tank.
Dumping the black tank first and following it with the grey tank helps prevent contamination and ensures a cleaner and safer experience for everyone.
7. Be Mindful About Flushing If There’s a Line
Flushing your tanks is an important part of RV maintenance, but if there’s a long line behind you, consider doing a quick rinse and saving the full flush for a time when the station isn’t as busy. This helps keep things moving for everyone while still allowing you to take care of your tanks responsibly.
8. Don’t Rinse the Sewer Hose at the Fresh Water Faucet
Never rinse your sewer hose at the potable water faucet to avoid cross-contamination. Use a designated hose and the designated spigot at the dump station to rinse the sewer hose.
9. Pick Up After Yourself
Ensure you clean up any spills or messes you create and properly dispose of all your trash. Keeping the dump station clean and tidy helps ensure a more pleasant experience for everyone.
10. Move Forward Before Filling Potable Water
After dumping, move forward before filling your potable water tank to avoid blocking others in the line. This simple gesture can help improve the efficiency of the dump station and make it easier for everyone to use.
By following these simple etiquette tips, you can help ensure a safer, cleaner, and more enjoyable experience at the dump station.


#8 and #10 should not be necessary at a properly designed dump station. Potable water should never be located close enough to the dump station to make either of these possible.
I have NEVER understood why the potable water is at the dump station.
Should be two separate locations. Even better, how much extra could it be to have 2 PW fill stations? If you need to put them near each other, put them 30′ apart so two campers can fill on one side and two on the other (because you put a simple wye connection on).
Absolutely no way will I rush because of any line ,I will fill flush and drain it 3 or more times if needed.they can’t wait its not my problem. First come first serve.
Of course, it’s your right to flush and clean your tanks as thoroughly as you feel is needed. That’s just good maintenance. This article is really about etiquette and respect when sharing dump stations with others. Interestingly, many RVers believe flushing every single time is unnecessary (see comments here: https://camperfaqs.com/rv-black-tank-rules-you-need-to-know). The pendulum swings pretty far both ways on this topic. At the end of the day, it comes down to balancing your own routine with being considerate of others waiting behind you. Unless there’s a posted time limit, it’s not a hard rule. So if courtesy isn’t your thing, sure, take all the time you want. But most folks appreciate it when everyone keeps the line moving. Thanks for sharing your viewpoint.
Selfish
I agree. I have right to properly flush my tank’s clean. I always fill my black water tank to almost full and then drain it again. This maybe the only dump station before I get home or to my storage location.
Step 3–
Bleach solution? What is that, like half bleach half water? Give us a recipe please. Thank you
Good question! For disinfecting purposes, the CDC and EPA recommend a solution of about 4 teaspoons of regular household bleach per quart (4 cups) of water. Just mix that in a spray bottle before each trip.
Former daycare worker here. We made bleach solutions daily for disinfecting between diaper changes because bleach lost it’s effectiveness after 24 hours. For full effectiveness, make it fresh each time you need to use it.
Before emptying the black tank, open a Grey tank valve for just a few seconds to insure all hose conne tons are secure and there are no leaks. Then proceed with the black tank.