Tire blowouts are one of the top causes of RV accidents, and they can lead to rollovers, fires, and serious injury. And even if you’re lucky and stay on the road, you’re still looking at a ruined tire, damaged fender, possible undercarriage repairs, and the hassle of a roadside delay.
And what’s one of the main causes for a blowout? You guessed it, low tire pressure.
Underinflated tires build up heat fast, which can lead to tire failure. They also create more rolling resistance, which means your engine has to work harder and you’ll end up spending more at the pump.
The good news? Avoiding all that takes just a few minutes of routine checks. Here’s what you need to know.
1. Check Tire Pressure at Least Monthly
Tires lose air over time, even if you don’t drive. Changes in outside temperature can also mess with PSI. At a minimum, check your RV’s tire pressure once a month. And always check before a road trip. Just because they look fine doesn’t mean they are.
💡Tip: According to Goodyear, if a tire is 20% under the recommended pressure, it should be removed and inspected before driving.
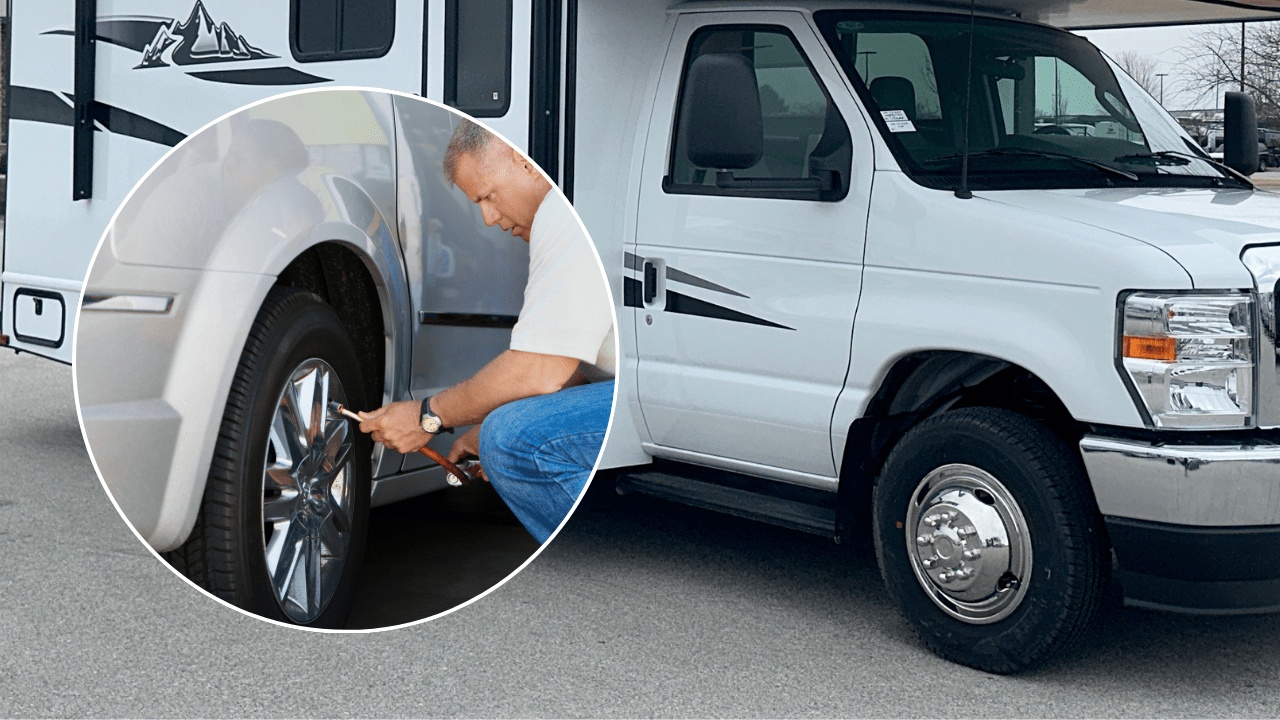
2. Always Check When Tires Are Cold
If you check tire pressure after driving, the numbers will be off. The heat from the road and braking warms the air inside, increasing pressure. That can give you a reading that looks normal, even if it’s not. In fact, pressure in a hot tire can be 10–15 PSI higher than when cold.
Do your checks first thing in the morning or after the RV has been parked for at least 3 hours.
3. Use the RV Manufacturer’s Recommended Pressure
The pressure listed on the tire’s sidewall is the maximum, not the recommended number. It tells you the highest PSI the tire can safely handle at full load, not what your RV actually needs.
Look for a sticker inside the driver-side door or check the owner’s manual. That’s the number to use when your tires are cold.
4. Weigh Your RV and Adjust if Needed
If your RV is carrying extra weight – full tanks, gear, passengers – your base PSI might not be enough. The only way to know is to weigh it.
Go to a certified scale (like at a truck stop) and get the actual axle weights. Once you have the actual weight, find the load and inflation table published by your tire manufacturer. These tables list the recommended PSI based on the load each tire is carrying. They’re specific to tire size and type, so you’ll need to match the exact tire model printed on your sidewall.
For example, if you have Goodyear tires, you can download their load inflation table right from their website.
💡Tip: If one tire on an axle is carrying more weight than the others, inflate all tires on that axle to match the PSI needed for the heaviest one.
5. Check the Spare Too
You won’t think about your spare until you need it. And when you do, it better not be flat.
Include it in your monthly checks and inflate it to match the same cold PSI as your other tires. It’s a quick check that can save you a lot of grief.
6. Get a TPMS (Tire Pressure Monitoring System)
A TPMS (Tire Pressure Monitoring System) shows you real-time pressure and temperature readings while you drive. Many systems will alert you if a tire starts losing air or gets too hot. That early warning can help you pull over and fix the issue before it becomes a bigger problem.
Keep in mind, a TPMS helps while you drive, but it doesn’t replace regular manual checks when tires are cold.
7. Don’t Bleed Air From Warm Tires
If a tire reads a few PSI too high after driving, leave it alone. That pressure increase is from heat, and it’s totally normal. If you let air out while they’re hot, they’ll be underinflated once they cool down.
Always adjust pressure when the tires are cold. That’s the standard across the industry.
8. Bonus: Inspect Tires
Tires can break down from UV exposure, weather, and age. A tire might still have good tread but be unsafe to drive on.
Check the sidewalls for cracks, bulges, or worn areas. Most RV tires should be replaced every 5 to 7 years, even if you haven’t hit the mileage limit.
Write a comment